In the competitive world of pigeon shows, a stunning photograph can be the difference between a bird blending in and one that commands attention and value. This guide delves into the art of pigeon photography, offering expert techniques to capture your bird's best angles and enhance its market appeal through professional show presentation. By mastering these skills, you can transform how your pigeons are perceived, potentially increasing their worth and success in exhibitions.
The Foundation of Effective Pigeon Photography
Before diving into advanced techniques, it's crucial to understand the basics that set the stage for exceptional pigeon photography. A solid foundation ensures your images are clear, well-composed, and ready for show presentation, helping your birds stand out in a crowded field. This section covers the essential equipment and settings every enthusiast should master.
Choosing the Right Camera and Lenses
Selecting the appropriate camera and lenses is the first step toward professional pigeon photography. For most enthusiasts, a DSLR or mirrorless camera with manual controls offers the flexibility needed to capture fine details. A lens with a focal length between 50mm and 100mm is ideal, as it provides a natural perspective without distortion, perfect for close-ups that highlight your pigeon's features. Consider investing in a macro lens for extreme detail shots of feathers and eyes, which can add depth to your show presentation. Additionally, ensure your camera has a fast autofocus system to keep up with active birds, and opt for models with good low-light performance for indoor shoots.
Beyond the camera body, accessories like a tripod and remote shutter release can stabilize your shots, reducing blur and allowing for sharper images. For lighting, natural light is often best, but a softbox or reflector can help control shadows and highlights, enhancing the bird's colors and textures. Remember, the goal is to showcase your pigeon's unique traits, so choose gear that supports clarity and creativity. By starting with reliable equipment, you lay the groundwork for images that captivate judges and buyers alike.
Mastering Camera Settings for Sharp Images
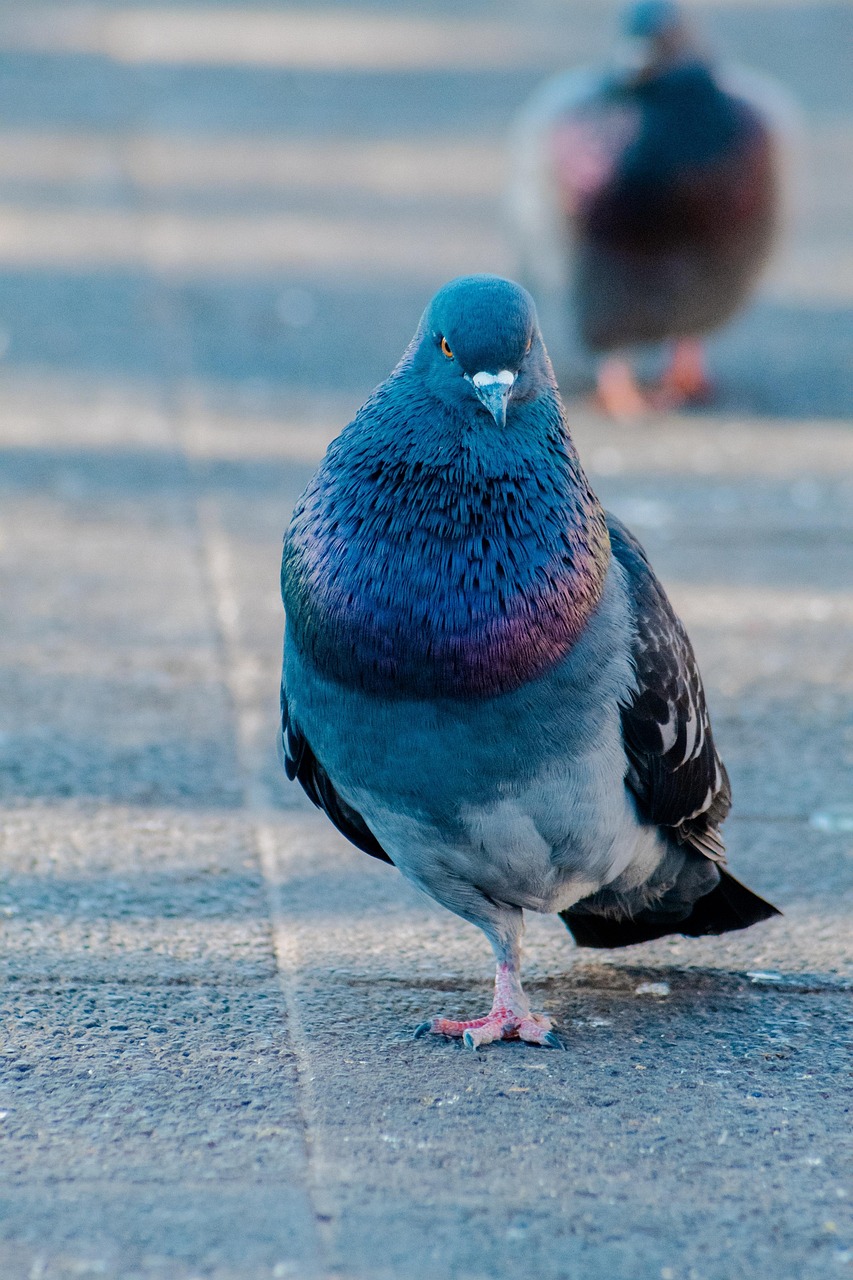
Understanding camera settings is key to producing sharp, vibrant photos that elevate your pigeon's show presentation. Begin by setting your camera to aperture priority mode, which allows you to control depth of field—a wider aperture (e.g., f/2.8) creates a blurred background that makes your bird pop, while a narrower aperture (e.g., f/8) keeps more of the scene in focus. Adjust your ISO to the lowest possible setting to minimize noise, typically ISO 100-400 in good light, and use a fast shutter speed (1/500s or higher) to freeze motion, especially if your pigeon is active.
White balance is another critical setting; set it manually or use a preset like "daylight" to ensure accurate colors that reflect your bird's true appearance. For focus, use single-point autofocus to lock onto your pigeon's eye or key features, ensuring the most important elements are sharp. Practice these settings in different environments to build confidence, and don't hesitate to shoot in RAW format for greater editing flexibility. With these techniques, you'll capture images that are not only technically sound but also emotionally engaging, ready to impress in any show context.
Lighting Techniques for Captivating Pigeon Shots
Lighting can make or break a pigeon photograph, influencing how colors, textures, and shapes are perceived. By mastering lighting techniques, you can create images that highlight your bird's best attributes and enhance its show presentation, making it more appealing to judges and potential buyers. This section explores natural and artificial lighting strategies to achieve professional results.
Harnessing Natural Light for Authentic Photos
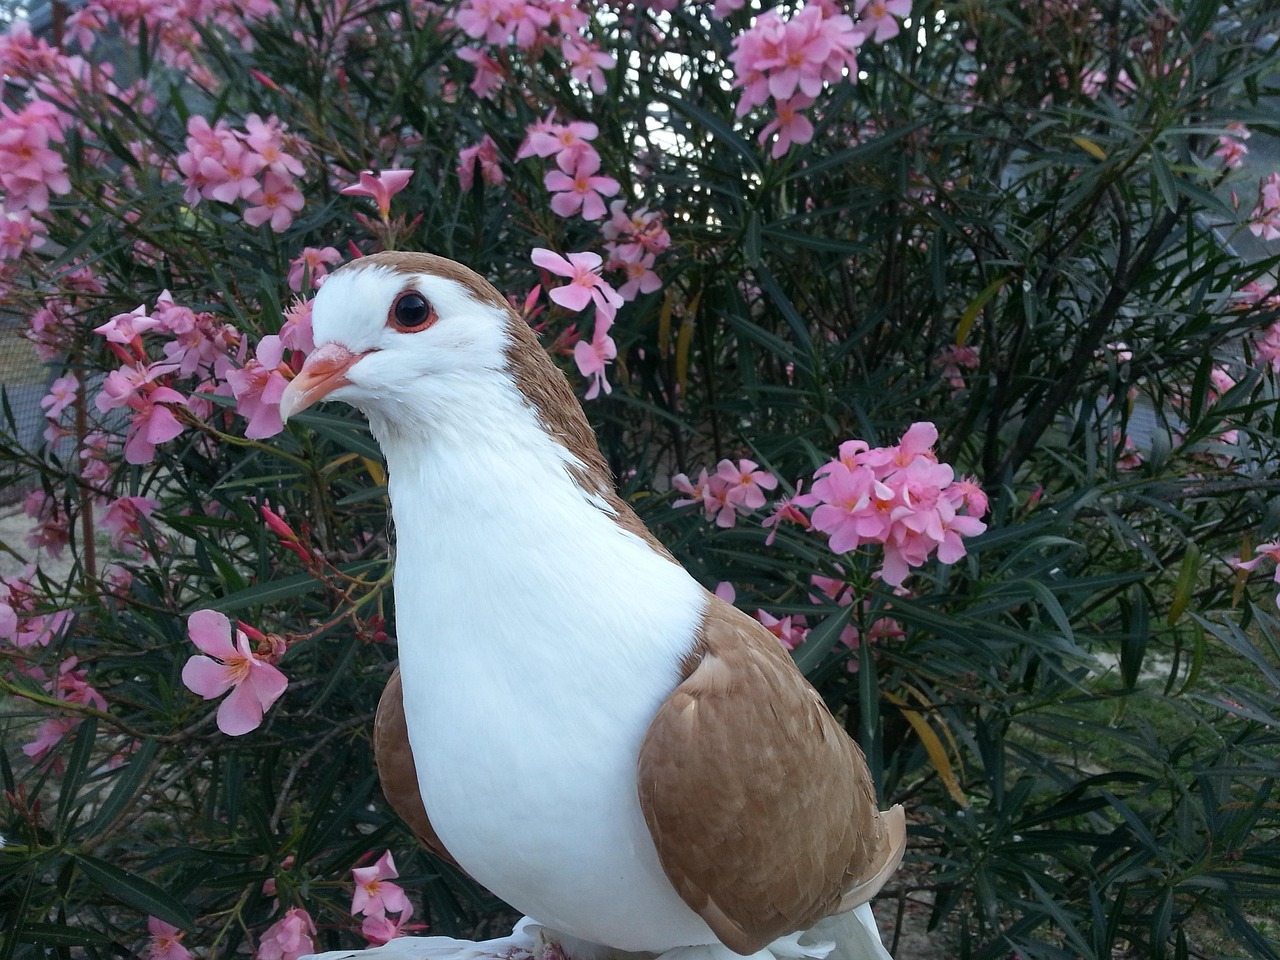
Natural light is a powerful tool in pigeon photography, offering soft, flattering illumination that can bring out the subtle hues and patterns in your bird's plumage. Shoot during the golden hours—early morning or late afternoon—when the sun is low, providing warm, diffused light that reduces harsh shadows. Position your pigeon so the light hits it from the side or front, avoiding direct overhead light that can create unflattering contrasts. If shooting indoors, place your bird near a window with indirect sunlight, using a white sheet or reflector to bounce light into darker areas.
To maximize natural light's benefits, pay attention to the background; choose simple, neutral settings that don't distract from your pigeon. Overcast days can also be advantageous, as clouds act as a natural diffuser, creating even lighting that minimizes glare. Experiment with different angles and times of day to find what works best for your specific breed, and always have a backup plan for unpredictable weather. By leveraging natural light effectively, you'll produce authentic images that showcase your pigeon's beauty in a way that feels organic and compelling.
Using Artificial Lighting for Controlled Environments
When natural light isn't available or sufficient, artificial lighting offers precise control over your pigeon photography setup. Start with a basic two-light system: a key light to illuminate the main subject and a fill light to soften shadows. Softboxes or umbrellas are ideal for creating diffused, even light that mimics natural conditions, reducing harsh lines and highlights. Position the key light at a 45-degree angle to your pigeon to add depth and dimension, while the fill light can be placed opposite to balance the exposure.
For more advanced setups, consider adding a backlight or hair light to separate your bird from the background, enhancing its silhouette and adding a professional touch to your show presentation. Use LED panels for consistent color temperature, and adjust the intensity to avoid overexposure. Always test your lighting before the shoot, and be mindful of your pigeon's comfort—avoid bright, direct lights that may cause stress. With practice, artificial lighting can help you create studio-quality images that highlight every detail, making your pigeons look their best in competitive settings.
Composition and Staging for Impactful Show Presentation
Composition and staging are where artistry meets technique in pigeon photography, transforming simple shots into compelling narratives for show presentation. By thoughtfully arranging elements within the frame, you can guide the viewer's eye and emphasize your bird's strengths, increasing its perceived value. This section covers key principles and practical tips for creating visually striking images.
Applying the Rule of Thirds and Leading Lines
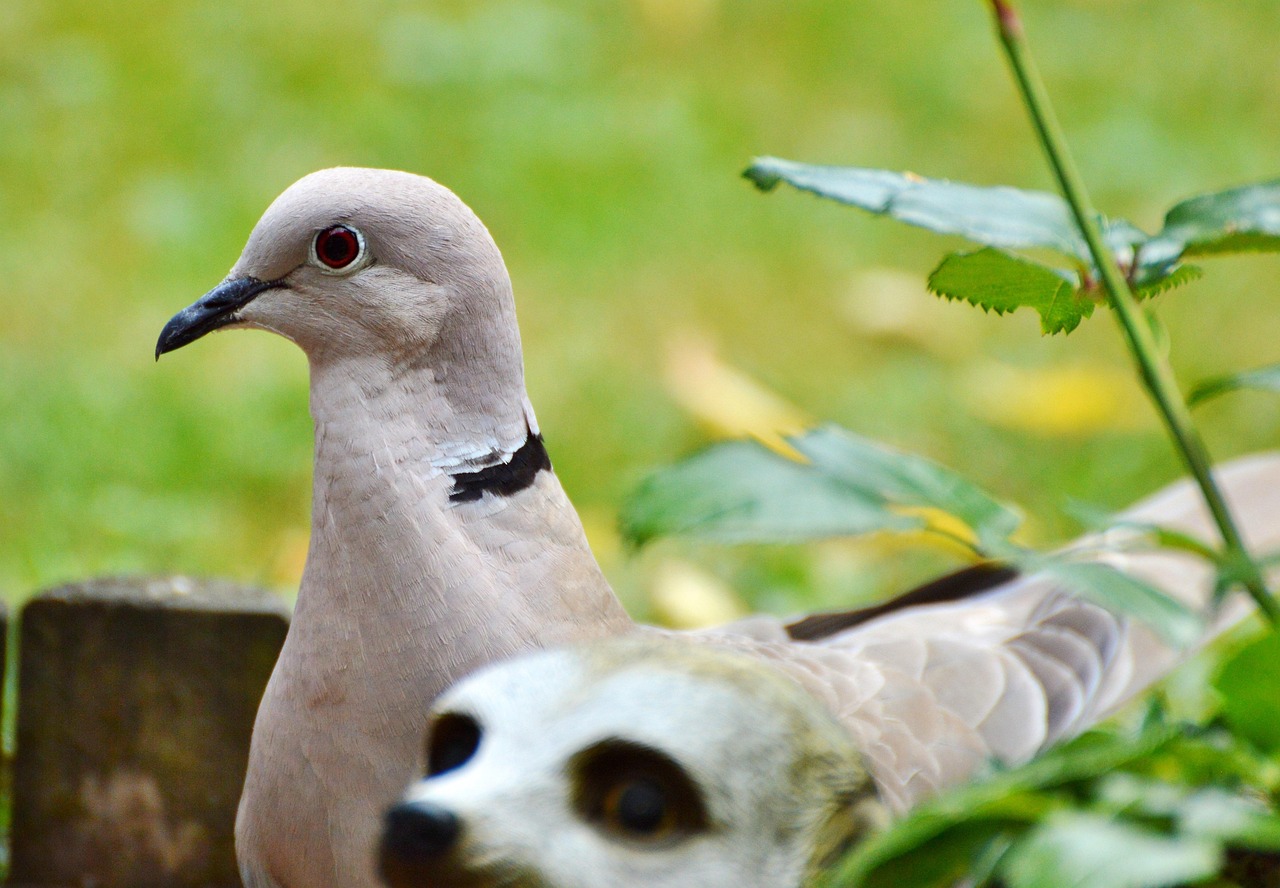
The rule of thirds is a fundamental composition technique that can elevate your pigeon photography by creating balanced, engaging images. Imagine dividing your frame into a 3x3 grid and positioning your bird along the intersecting lines or at their intersections, rather than centering it. This approach adds dynamism and allows space for the background to complement the subject. For example, place your pigeon's eye at one of the top intersections to draw attention to its expression, or align its body along a vertical line to emphasize posture.
Leading lines are another powerful tool; use natural elements like perches, branches, or even shadows to guide the viewer's gaze toward your pigeon. In show presentation, this can highlight specific features, such as a sleek neck or vibrant plumage. Experiment with different angles, such as shooting from a low perspective to make your bird appear more majestic, or from above to showcase its overall shape. Remember, composition should enhance, not distract—keep backgrounds simple and avoid cluttered elements that compete for attention. By mastering these techniques, you'll create photos that are not only aesthetically pleasing but also strategically effective in competitions.
Staging Your Pigeon for Optimal Appeal
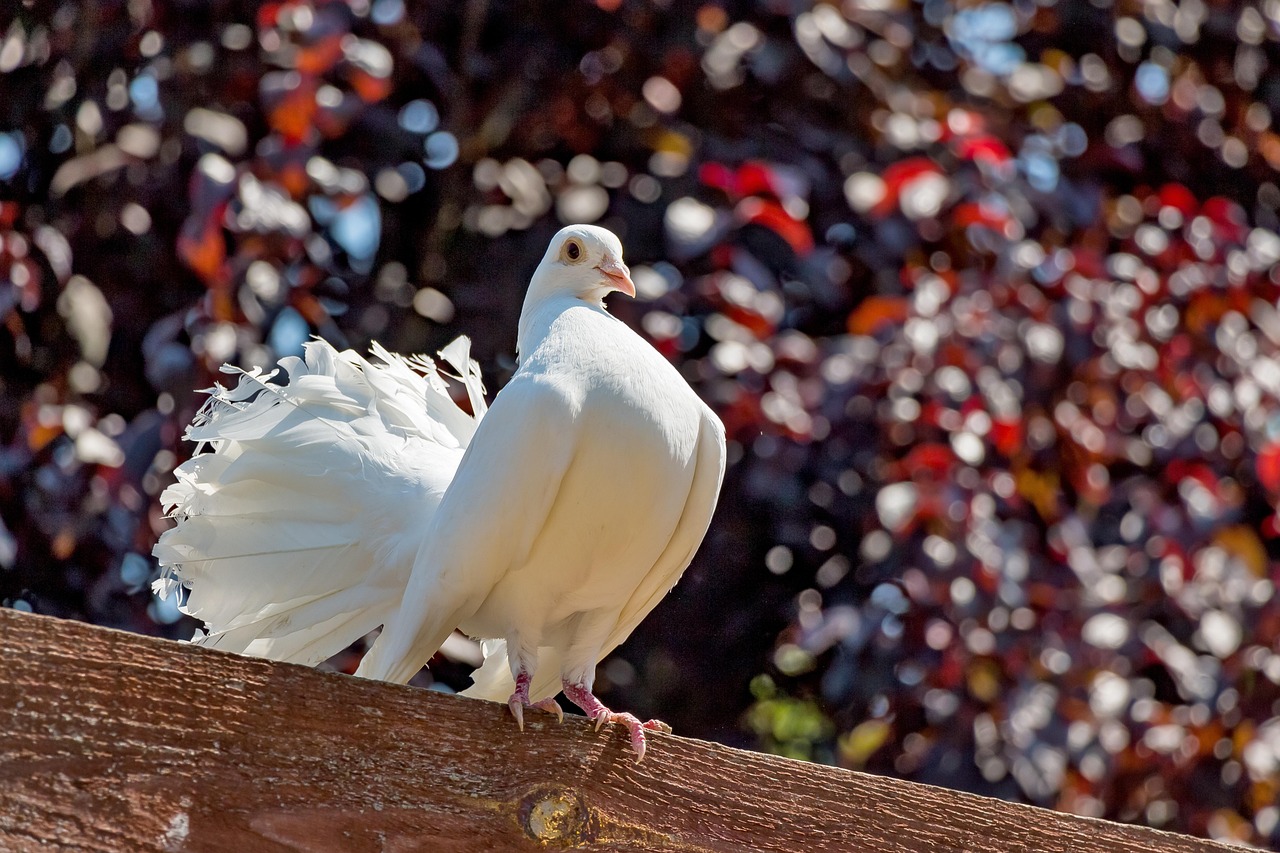
Staging involves preparing your pigeon and its environment to maximize visual impact in photography and show presentation. Start by grooming your bird thoroughly, ensuring feathers are clean and arranged, and any distinctive markings are highlighted. Choose a perch or setting that complements your pigeon's breed and color; for instance, a dark wooden perch can contrast beautifully with light-colored birds, while a natural branch might suit more rustic breeds. Position your pigeon in a way that showcases its best attributes, such as holding its head high to display confidence or spreading its wings slightly to reveal patterns.
Consider the overall scene: use props sparingly to add context without overwhelming the subject, and ensure the background is blurred or neutral to keep focus on the bird. For action shots, capture your pigeon in motion, like during flight or preening, to add energy and personality. Practice handling your bird calmly to reduce stress, which can affect its posture and expression. By thoughtfully staging each shot, you'll produce images that tell a story and resonate with viewers, potentially boosting your pigeon's market value through enhanced show presentation.
Post-Processing Tips to Polish Your Pigeon Photos
Post-processing is the final step in refining your pigeon photography, allowing you to correct imperfections and enhance visual appeal for show presentation. With careful editing, you can bring out the best in your images without altering the bird's natural appearance, ensuring they remain authentic and competitive. This section provides guidelines for ethical and effective photo editing.
Basic Adjustments for Clarity and Color
Begin your post-processing with basic adjustments to improve clarity and color accuracy in your pigeon photos. Use software like Adobe Lightroom or free alternatives to adjust exposure, contrast, and highlights, ensuring your bird is well-lit without losing detail in shadows or bright areas. Increase clarity slightly to enhance texture in feathers, but avoid over-sharpening, which can create unnatural edges. For colors, adjust saturation and vibrance to make plumage pop, but stay true to the bird's natural hues—over-editing can mislead judges and harm your credibility in show presentation.
White balance correction is crucial; if colors appear off due to lighting conditions, use the eyedropper tool to set a neutral point, such as a gray feather or background. Crop your images to improve composition, following the rule of thirds, and remove any distracting elements from the edges. Always work on a copy of the original file to preserve the raw data, and save your edits in a high-resolution format suitable for printing or online display. These basic steps can transform good photos into great ones, ready to impress in any exhibition.
Advanced Techniques for Professional Finishing
For more advanced post-processing, focus on techniques that add polish without compromising integrity. Use selective editing tools to dodge and burn—lightening specific areas like the eyes to add sparkle or darkening backgrounds to increase contrast. Remove minor blemishes, such as dust spots or stray feathers, with a healing brush, but avoid altering the bird's physical features, as this could be considered unethical in competitive pigeon photography. Consider adding a subtle vignette to draw attention to the center of the image, but keep it minimal to maintain a natural look.
When preparing images for show presentation, ensure they meet specific competition requirements, such as size and format guidelines. Create a consistent editing style across your portfolio to build a recognizable brand, but adapt to each bird's unique characteristics. Remember, the goal is to enhance, not deceive; your edits should highlight your pigeon's true beauty and support its market value. By mastering these advanced techniques, you'll produce professional-quality photos that stand out in crowded shows and online listings.
Conclusion
Mastering pigeon photography is a powerful skill that can significantly enhance your bird's show presentation and market value. By focusing on foundation techniques, lighting, composition, and post-processing, you create images that capture attention and convey quality. Remember, consistency and authenticity are key—practice regularly and always prioritize your pigeon's well-being. For those looking to streamline their efforts, tools like Ghawy – Pigeon Manager (غاوي – إدارة الحمام) offer support in managing and showcasing your collection. Start applying these tips today to elevate your pigeons in the competitive world of shows.